
The website supported people in finding a home swap / mutual exchange.
To help keep your home in good condition we replace kitchens when they come to the end of their life.
To plan when you might need a new kitchen, we carry out a survey of all homes. We’ll give you plenty of notice when your kitchen is scheduled to be replaced.
Having your kitchen replaced can be disruptive if you don’t know what to expect. So, we’ve put together a timeline guide below to show you what will happen at each stage of a typical kitchen installation – from survey and design right through to completion.
Sometimes kitchen installations may follow slightly different timelines but we’ll keep you updated if this is the case.
What happens before your kitchen installation?
During your programmed year for replacement, a surveyor will contact you and then visit. This isn’t just about measurements and technical checks – it’s about understanding how you use your kitchen and what matters most to you. We take time to talk about daily routines, any support needs, and how we can make the process as smooth and comfortable as possible.
Using what we’ve learned, we put together a design that works for everyday life. It’s not just about fitting units – it’s about creating a space that feels practical, safe and easy for you to use, with as little disruption as possible.
We go through the design with you. We explain everything in a clear and simple way, giving you time to ask questions and choose finishes. This helps make sure the kitchen really feels like your own.
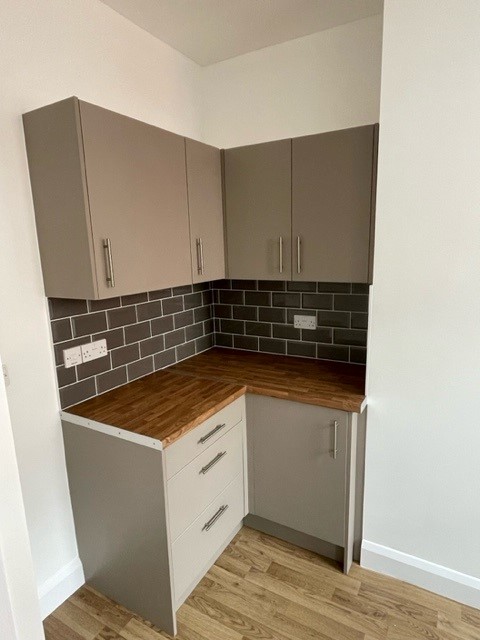
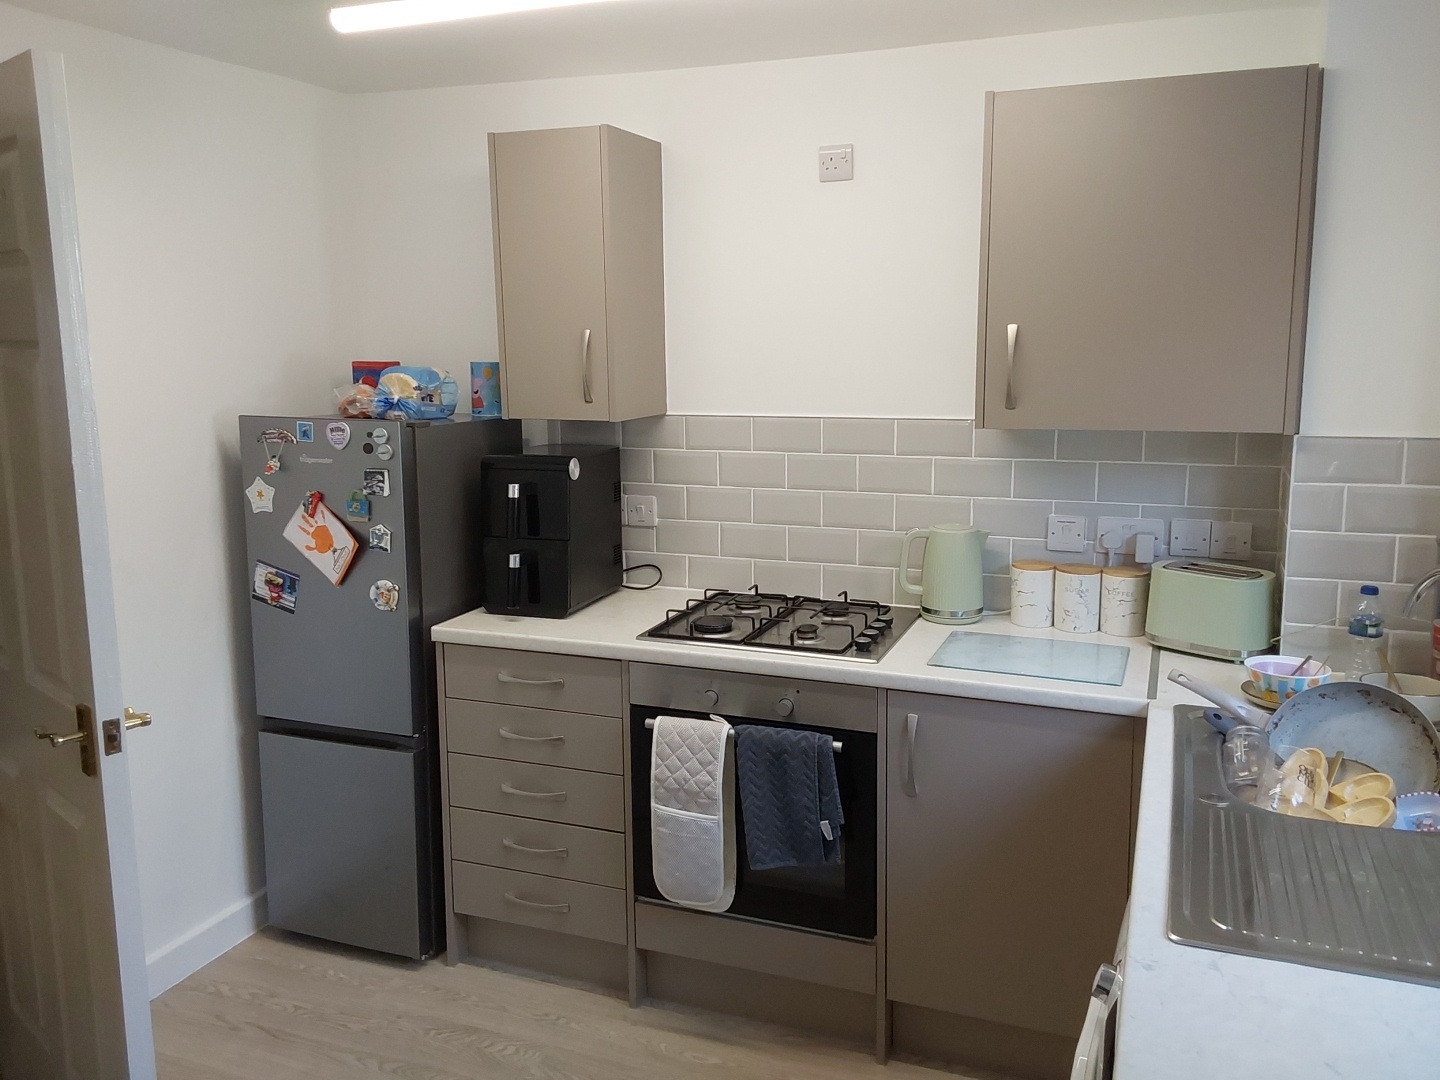
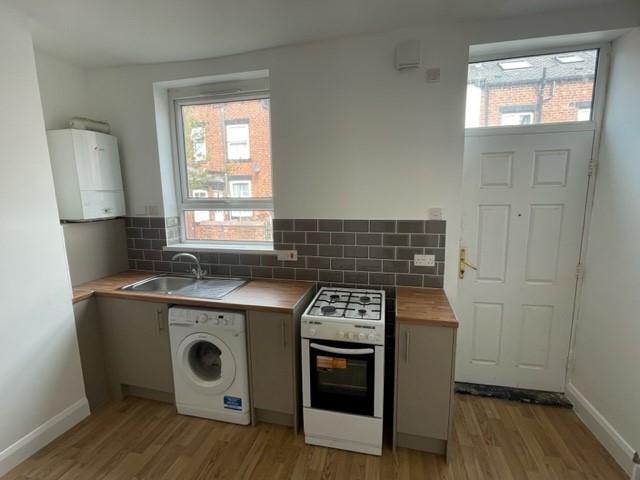
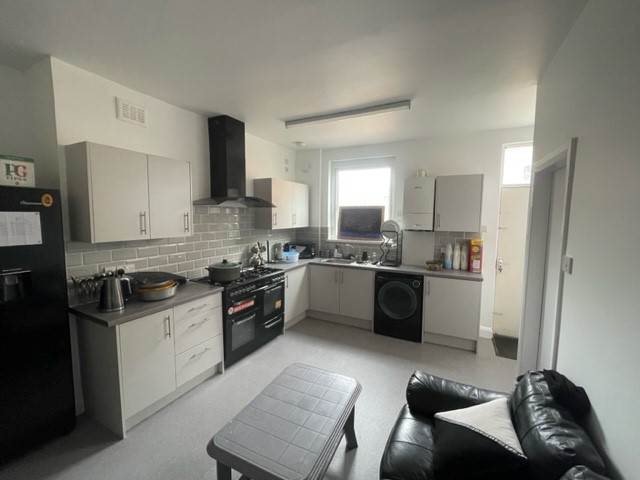
We offer a really wide range of styles and colour options which means you get a kitchen you can love and cherish for many years. We fit JTC Furniture Group kitchens which offer a good quality finish.
We order the materials several weeks in advance and book the installation with you. We plan the timing carefully, taking into account your needs and making sure everything is set up to run smoothly.
We carry out all the necessary safety checks. Behind the scenes, we make sure everything is compliant and ready, so there are no surprises later.
We confirm the start date with you and talk about what to expect. We also agree on simple arrangements, like cooking and access to water, and we make sure you know who to contact if you need anything. It’s also a chance for us to answer any last questions you might have and to make sure you feel comfortable before work begins.
We’ll also ask you to remove your kitchen contents and belongings from cupboards and worktops before the day we’ve arranged to start work. Don’t worry about any large appliances such as your cooker, washer etc. as our contractor will disconnect and move them to an agreed place in your home. They’ll also make sure the appliances are protected until they’re refitted once the new kitchen is ready.
What happens during the kitchen installation?
The installation phase usually takes around 15 working days to complete. Our kitchens are installed by our own contractors, Arthington Property Services (APS).
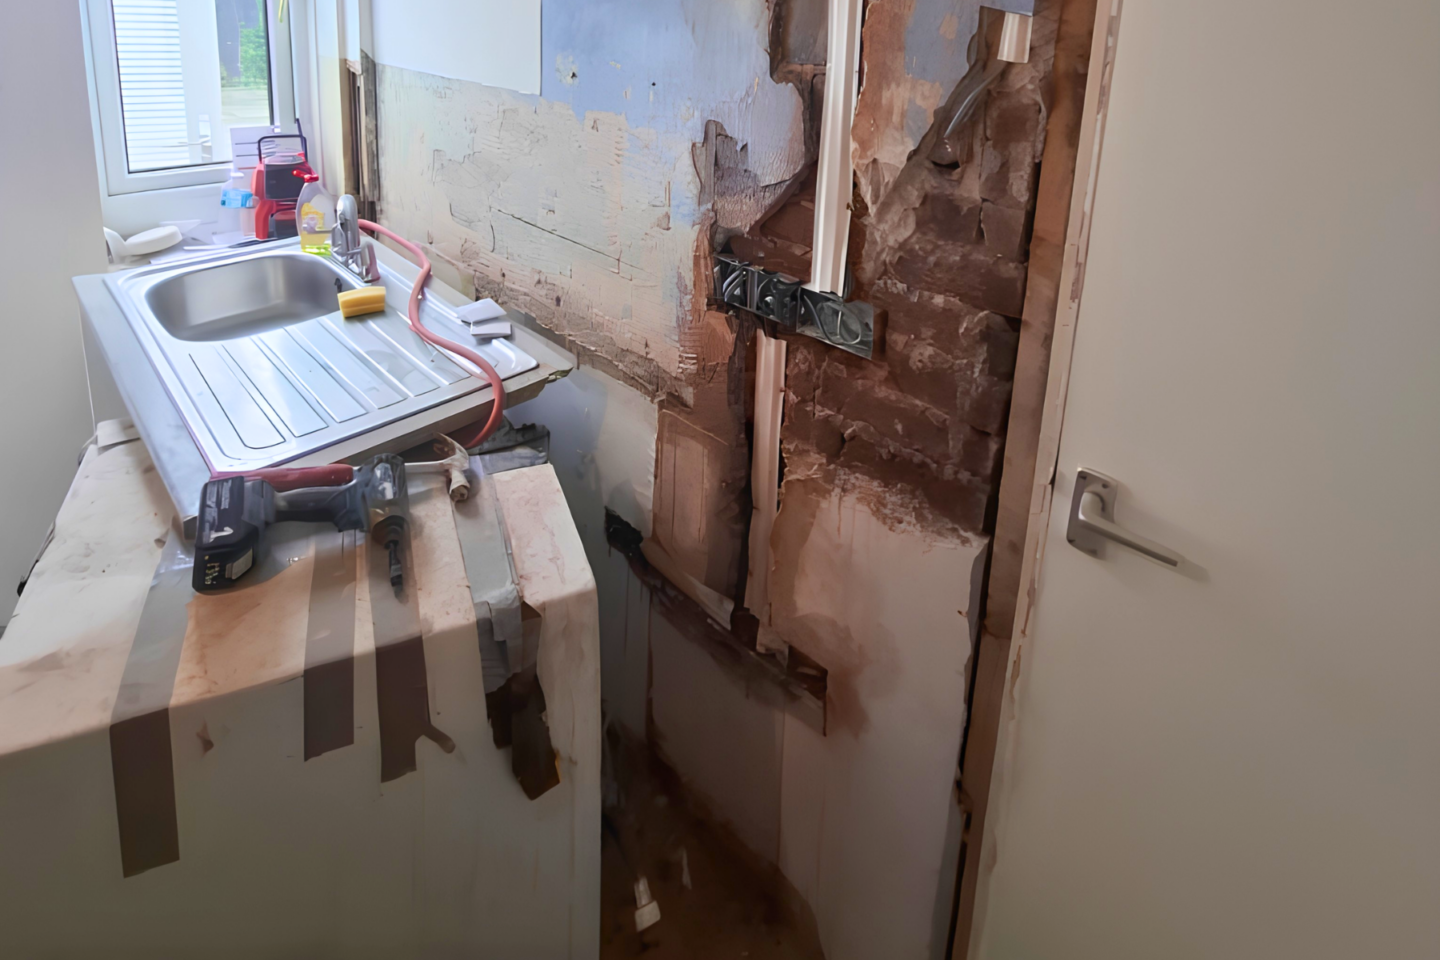
Sometimes, once we start work, we may uncover things we couldn’t see before – like hidden damage or older pipework. If that happens, we’ll always explain things clearly to you and take the time needed to put it right. The timeline below shows a typical example of what might happen each day during the installation phase.
Day 1: Clearing the space
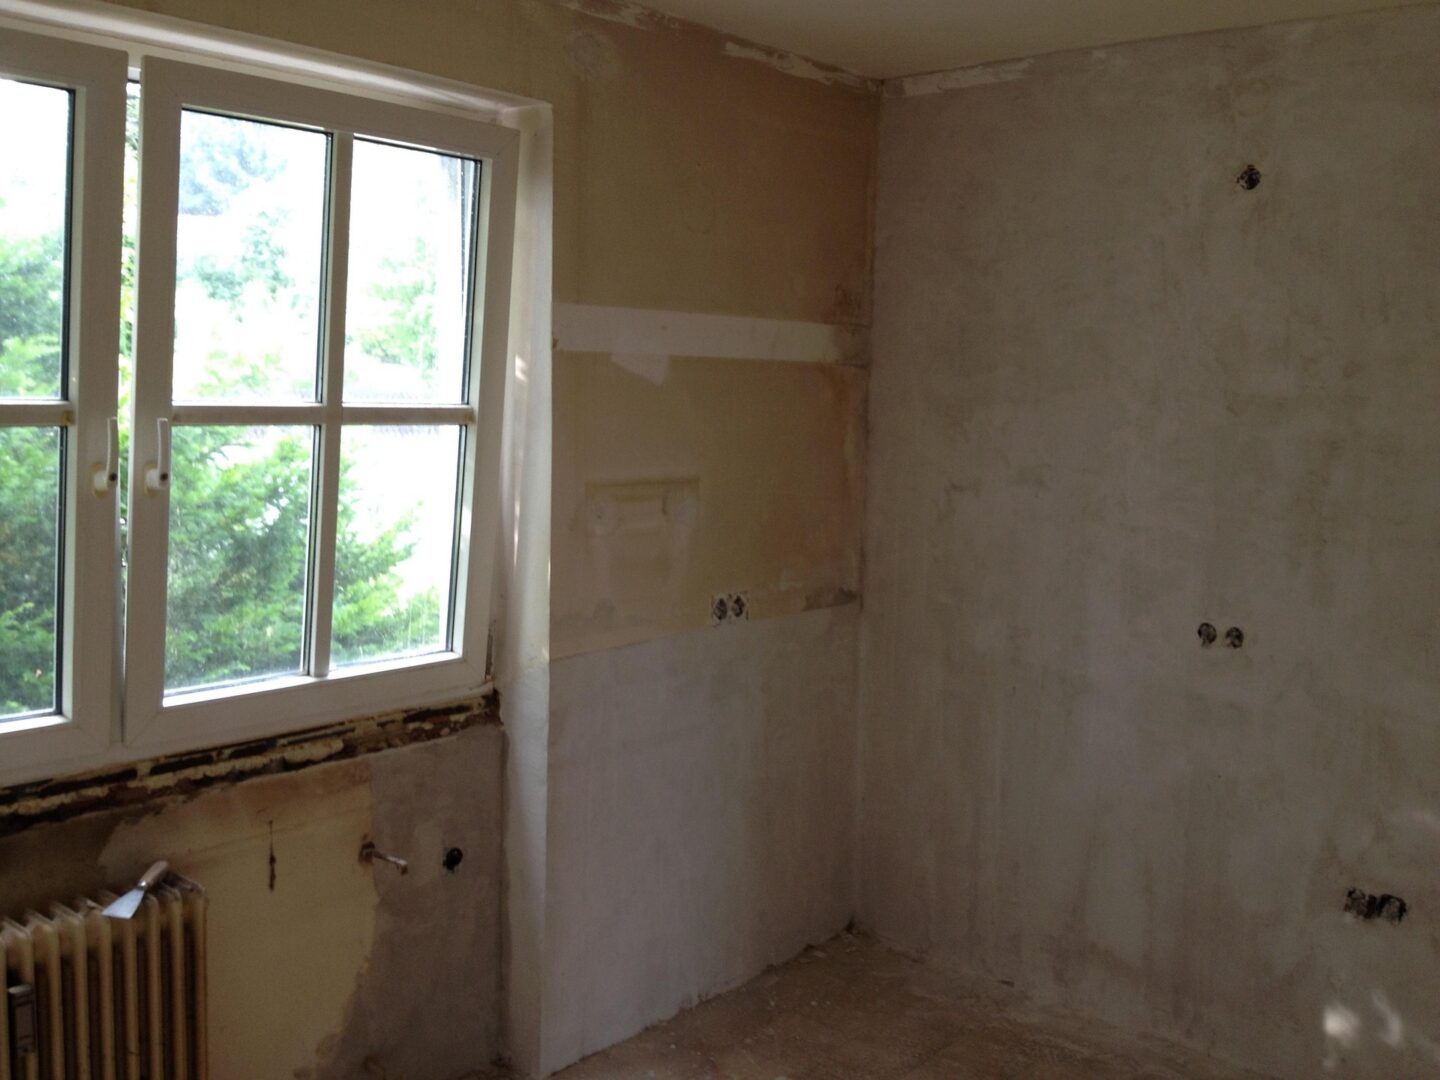
Our team arrives, introduces themselves, and talks through the plan for the day. We carefully remove the old kitchen, keeping everything as tidy as possible.
Day 2: Plumbing first fix
We adjust the pipework to fit the new layout. We’ll tell you about any anticipated short disruptions to water.
Days 3 and 4: Electrical first fix
We upgrade wiring and get everything ready for the appliances. We’ll let you know about any power interruptions in advance.
Days 5 and 6: Plastering
Depending on the condition of your walls, we may need to replaster them to make sure they’re suitable for decorating. We might not need to replaster all the walls or the ceiling; it depends on how much damage the plumbing and electrical work has caused to the current plaster.
Day 7: Floor preparation
Depending on the type of flooring, we’ll either install a plywood covering or a screed that will provide a good base for the new floor.
Day 8: Base units go in
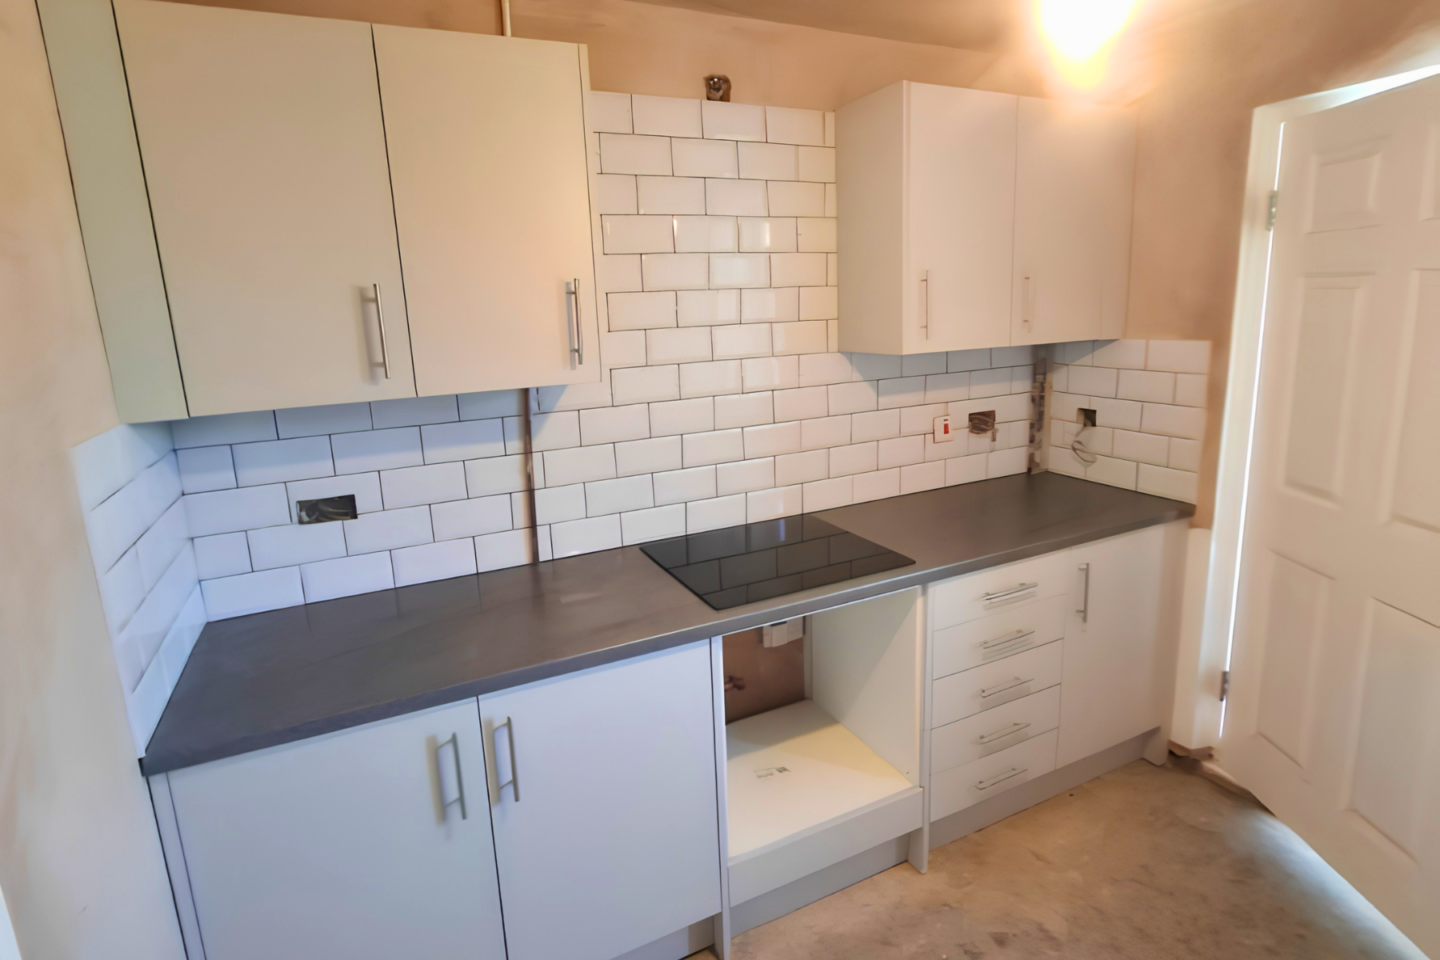
The new kitchen starts to take shape as we carefully and neatly fit the base units.
Day 9: Wall units, worktops and plumbing second fix
We install the wall units and worktops, bringing the kitchen closer to completion. We also connect up the new kitchen sink and taps.
Days 10 and 11: Wall tiling
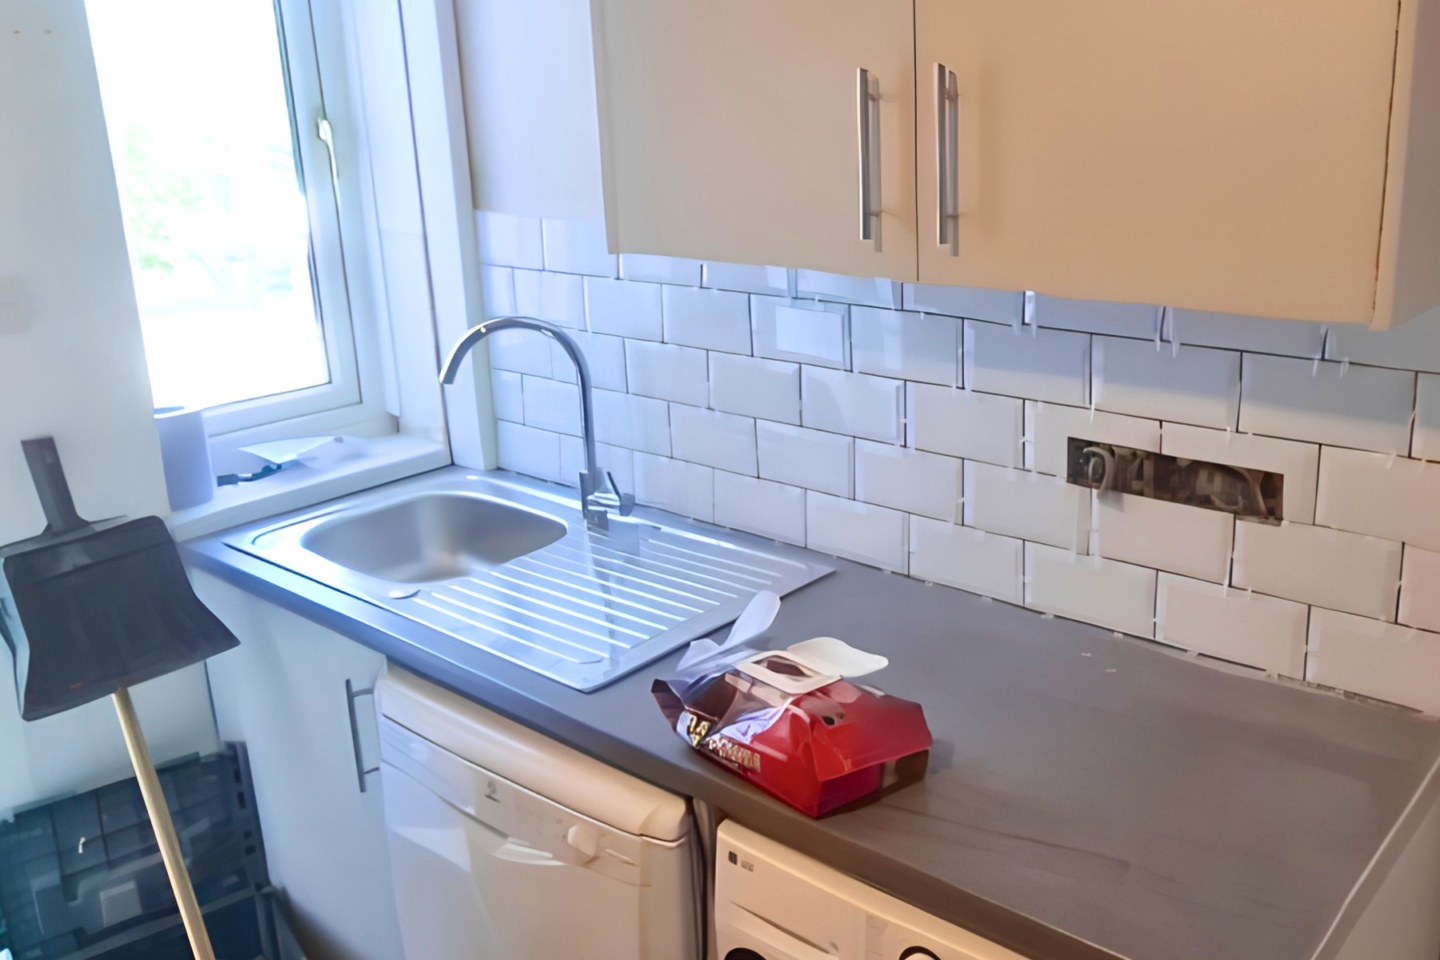
We install ceramic tiles above your worktop to protect your walls from splashes. If you have a freestanding cooker, we’ll also tile the cooker space.
Day 12: Electrical second fix
We fix your kitchen sockets back to the tiles. We’ll turn them back on, test them and check they’re working OK. We’ll also refit your appliances and check they all work.
Day 13 and 14: Decoration
We paint your walls and ceiling in the colour you chose during the planning stage. We’ll gloss your woodwork in white.
Day 15: Finishing touches
We lay the flooring and complete all the final details to make the space feel clean and welcoming.
Final checks and handover
We carry out all final checks and make sure everything is working as it should. We then walk you through your new kitchen to show you how everything works and make sure you feel at home using it. This may be a couple of days after we’ve completed the work.
What happens after the kitchen installation?
Once we’ve completed the work, we stay in touch with you to make sure everything is settling in well. If anything comes up, we’re there to help. The kitchens have a two-year warranty period to pick up any issues.
Outcome and feedback
By the end of the process you’ll have a brand new, energy-efficient kitchen that helps make your house a home.
We’re always trying to improve the service we offer so we’ll ask you to complete a survey. We really appreciate any feedback you want to share.